As you know from my other Havasupai Falls articles, I absolutely LOVE Havasupai Falls. I have been to hundreds of different cities or areas and Havasupai is in my top 3 favorites of all time, next to Rome and Siem Reap in Cambodia. With that said, it is overwhelming thinking about what to pack for Havasupai Falls.
What to pack for Havasupai Falls is almost as hard as the hike itself… Thankfully I am here to try and help you with what to pack as well as other tips. I also provided a ton of helpful links so you can just click and purchase anything you don’t have from Amazon.
I am a notorious overpacker but you definitely need to pack as light as possible because the hike is no joke. While packing and the hike are difficult I promise you it might be the prettiest area you will ever be in your entire life. I like to think I am well-travelled and I honestly believe it is the nicest area I have ever seen.
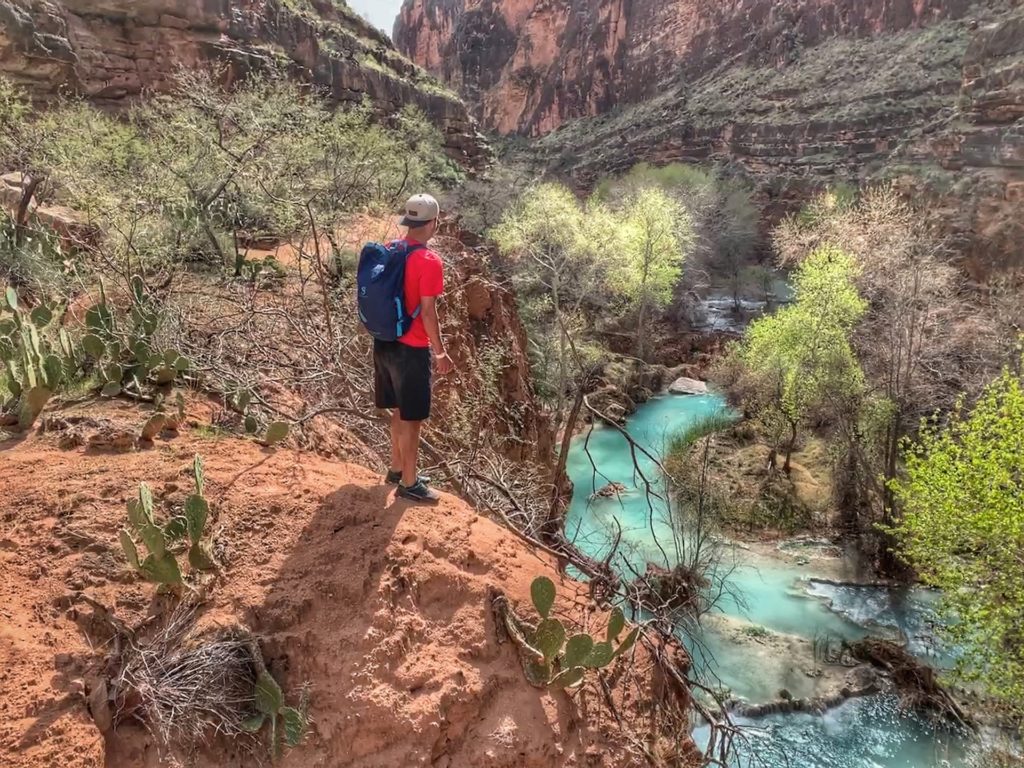
The combination of the outdoors; unplugging completely from civilization; the feeling of accomplishment from hiking in and out with a 30-50lb pack; and the miles of unique beauty are unrivaled. I have been lucky enough to make the trip a few times and each day has been just as amazing as the one before it.
For my complete Havasupai Falls Guide with tips & everything you need check it out here!
If you’re an Arizona Native or visit often here are my other favorite waterfall and swimming hole hikes near Phoenix!
What To Pack
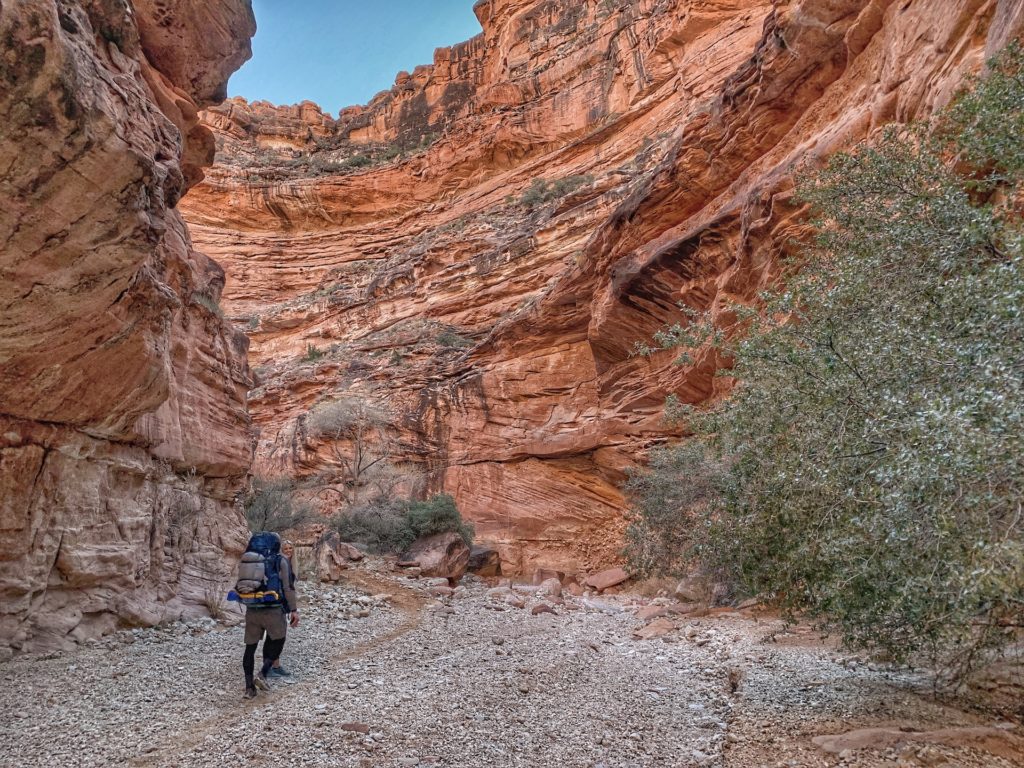
Don’t be like me in year 1… as mentioned pack as lightly as possible especially if you are packing your own pack. There also are no large garbages and you must pack in what you pack out.
Backpack
Don’t skimp here… it is a long hike with a heavy bag so be sure you have something quality or you will be in pain and it will make the hike so much worse. I continued to use my bag I brought to Thailand 15 years ago and hate myself every time. I’m almost thankful that a friend who borrowed it lost it.
Clothing
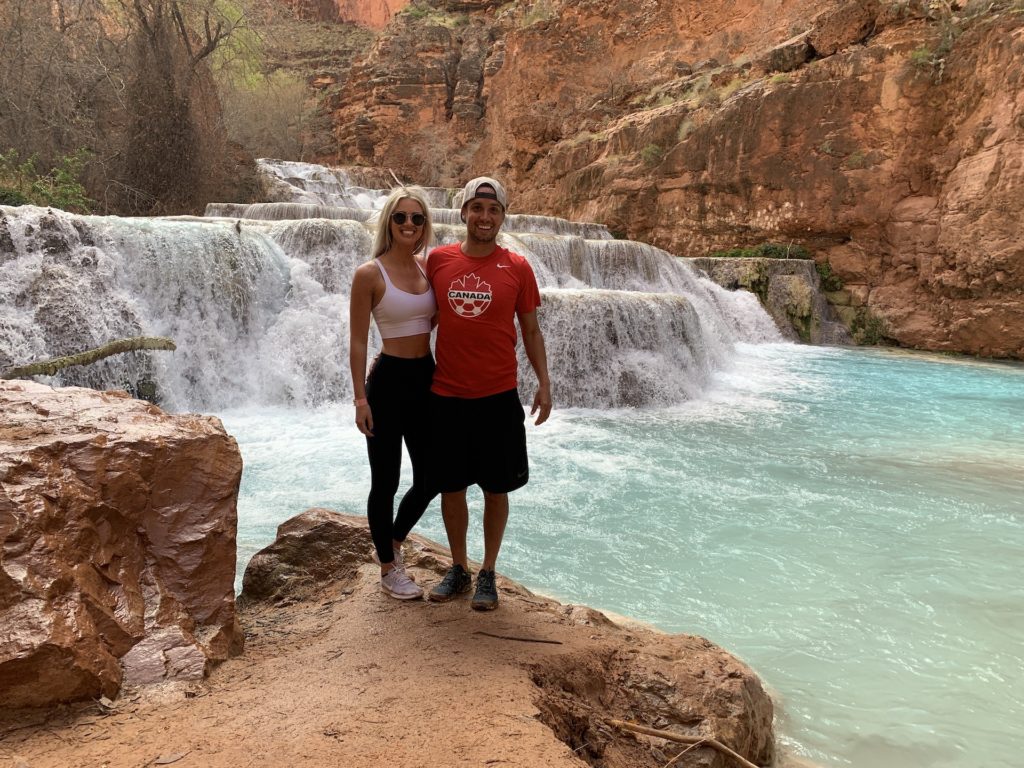
Check the weather and dress for it. The last thing you want to be is freezing cold down there or a rainstorm comes in and you’re without rain gear. Hopefully you are going during standard weather and you can pack as light as possible.
My Clothing packing summary:
- I pack these great trail shoes that can get wet and I cross the water in without taking off.
- Beach flip-flops
- 2 of these pairs of my favorite running shorts, which double as swim trunks to save on packing.
- 4-5 pairs of these running socks, which are expensive but are game changers.
- 2-3 t-shirts and if it’s cold then a hoodie
- Joggers like these or shorts and shirt to sleep in.
- That’s it… I don’t wear underwear so live your life how you see fit.
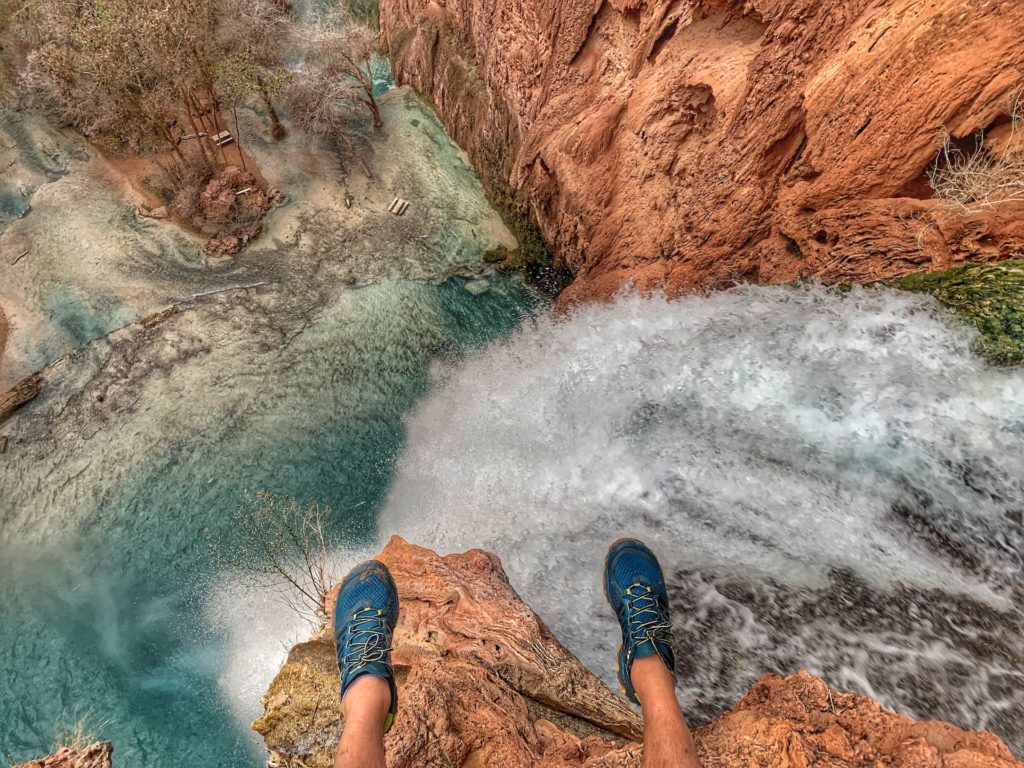
- Footwear: Make sure you are using shoes that you have used a lot before! Don’t test out some new shoes on this trail as you could pay for it. I always use trail running shoes like these high rated La Sportivas. I honestly don’t even notice if they are wet or dry and will go sockless if doing water hikes.
- If that isn’t your style people bring hiking boots for the way down and then hiking sandals or water shoes when you are down there. Higher top hiking boots do keep the gravel out, which would be nice but it isn’t the end of the world. You do hike 10+ miles in and out of water when you are at the bottom so make sure your shoes are comfortable if that is your plan. You also don’t want to have to take on and off hiking boots each time you cross the water.
- Bottoms: Pending the time of year bring quality active shorts or joggers.
- Males, you can also pack swim trunks but my running shorts turn into swim shorts with the power of not giving a shit… and they are self cleansing in the water ;).
- Females, you probably want to bring a bathing suit or two…
- Tops: 2-3 t-shirts for hiking, 1 for sleeping, a long sleeve shirt, hoodie, rain jacket.
- Multiple pairs of quality athletic or hiking socks. These are expensive but a couple are worth it.
- Hats or toques (Canadian cold weather hats).
Camping
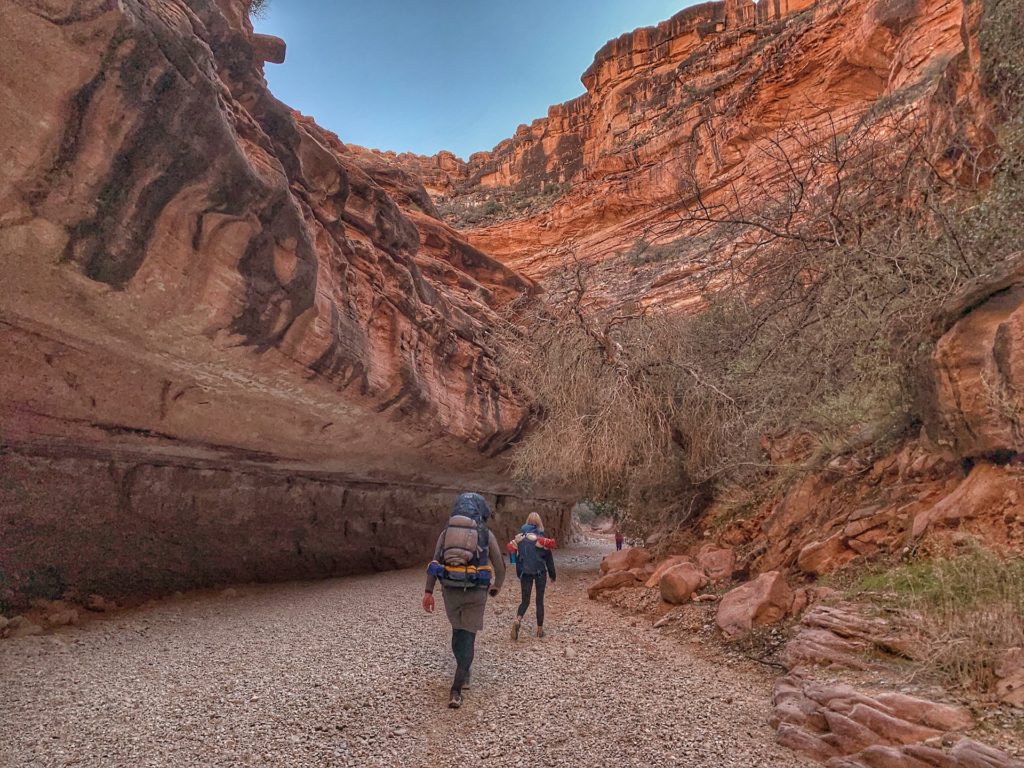
- Lightweight backpacking tent. I have a friend who used a small $19.99 tent from Walmart twice and loved it for him and his wife. I emphasize lightweight as I always bring a standard Target tent and it succckkksss. This tent is amazing and really cost effective, it is a must buy honestly, check it out here on Amazon.
- Bed. I love these inflatable beds, which are pretty cheap on Amazon here. There are also the Lightweight sleeping pads, which I don’t mind but many people did not like. I would do the inflatable beds.
- If you dare you can sleep in a hammock easy enough as well. I always want to do this but I just get nervous if somehow some random rain storm comes through and then I’m SOL.
- Here is a great Lightweight sleeping bag.
- Here is also an inflatable or camping pillow that is perfect for the trip.
Cooking & Food
My food packing summary:
- Mini backpacking stove here & stove fuel canister,
- 5-8 Mountain House Food Packages. These are amazing game changers and can buy them cheap on Amazon here.
- large empty water jug, water bottle, fork, spoon and
- 6-8 Cliff Bars.
- I love my Nalgene water bottle so much I have 4 of them, which you can buy here!
All of that said I overpack food even though there has always been food to purchase at the bottom. My food is pretty light though so I would rather be on the cautious side. There is also food in the town of Supai but it is a 4 mile round trip from the campsite… and they are known to be out of things sometimes.
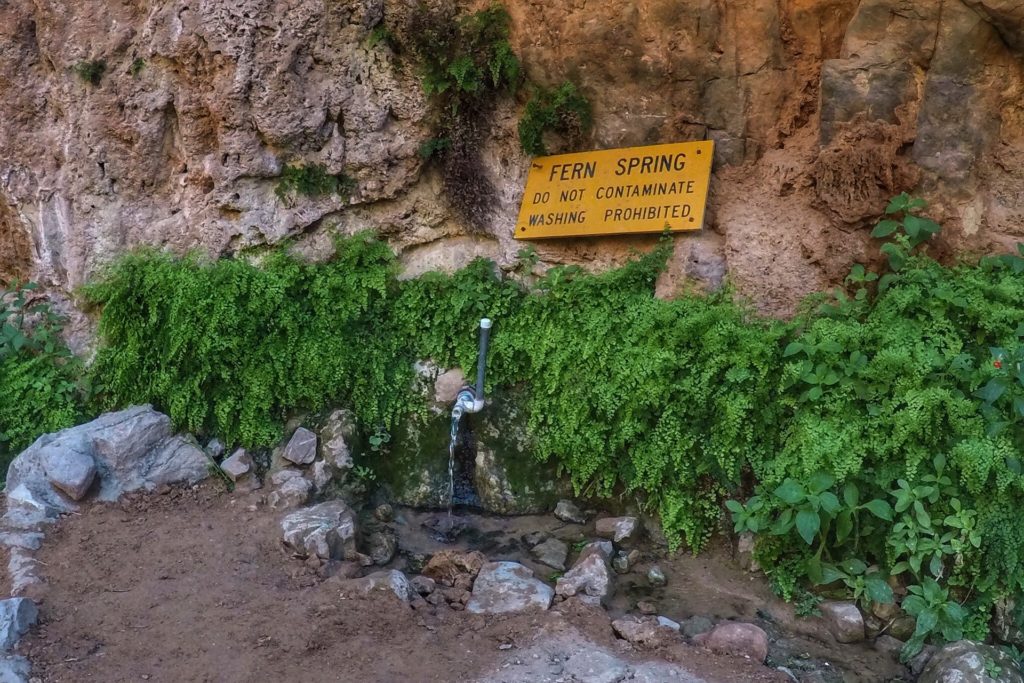
- Empty large plastic water jug. This is huge as you don’t want to have keep walking back and forth to the water spout 10x a day to fill up your. There is the COOLEST spring water supply on earth with a water spout coming out of the side of the canyon. It is completely safe and will be some of the most delicious freshwater you’ve ever tasted.
- Remember to lock your food up somehow or put it in your tent when you leave or else squirrels will get it all!
- For food heating I like a kit such as this one from Amazon that has a mini backpacking stove, stainless steel cup and fork and knife.
- Eating utensils and dish. I bring a fork, knife and spoon then just wash them. I try to eat out of my thermos/cup where possible.
- In terms of food, as mentioned, Mountain House is a great option for their dried food bags, just add hot water and they’re actually pretty good. They have a ton of different kinds but maybe bring some ketchup or hot sauce packets. They are perfect as they are very light and give you a nice warm meal over granola bars.
- Other food ideas are things like trail mix, beef jerky, fruit bars, tuna packets, cheddar cheese blocks last 2+ days, crackers, instant oatmeal, chips and such.
- I love Nuun tablets as they are great for electrolytes and they just dissolve in water. Get them on Amazon for pretty cheap here!
- Instant coffee if you are a coffee drinker is helpful as well.
Health
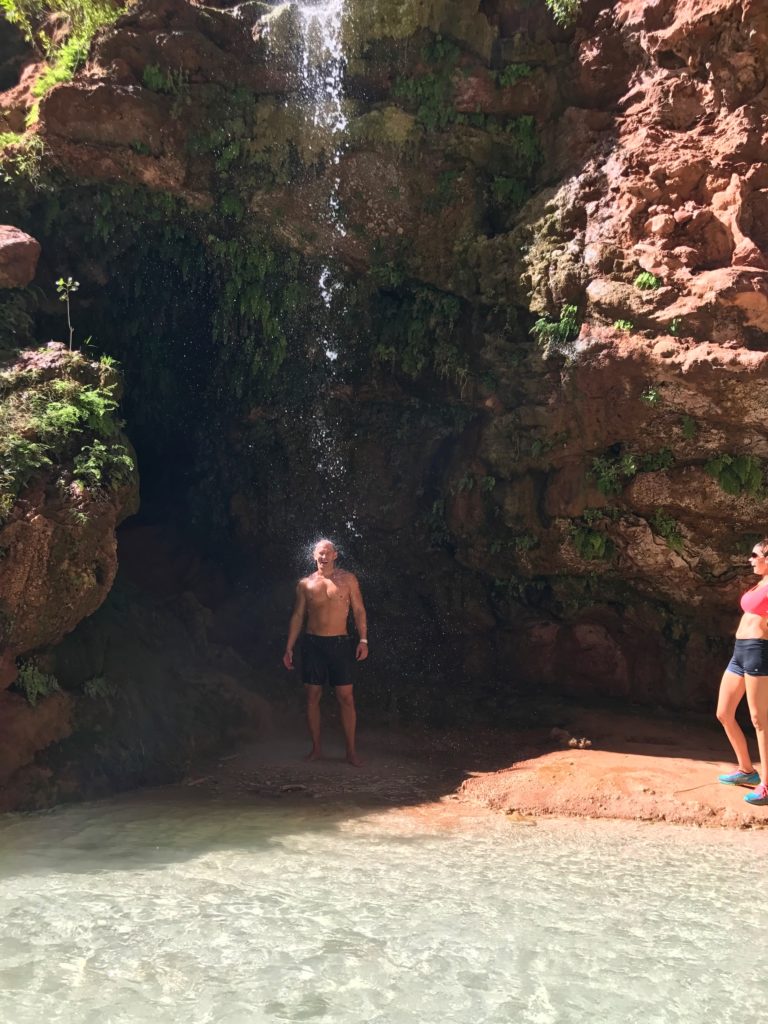
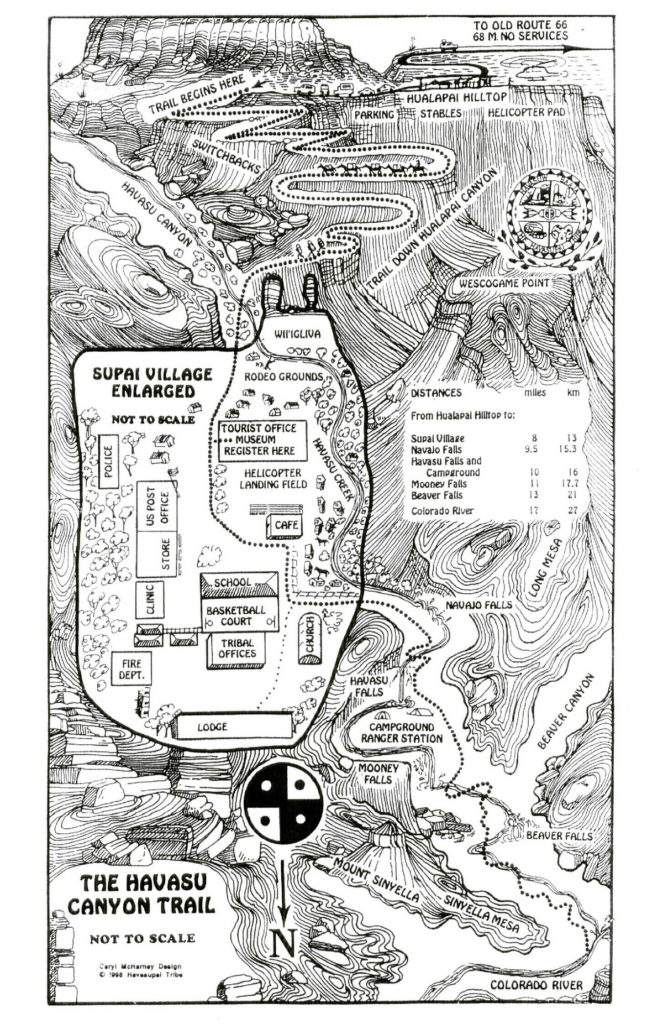
- Biodegradable environmentally friendly soap. I like to shower in the hidden mini waterfall about 0.25mi down from Mooney Falls.
- Deodorant, toothbrush, toothpaste.
- Towel
- Ibuprofen
- If not outdoorsy, something medicinal to help you sleep isn’t a bad idea as it can be pretty tough to sleep on the hard ground.
- Mini med kit with bandages etc.
- Biodegradable baby wipes are nice to have.
Misc Things To Pack For Havasupai Falls
- ID & Credit Card for check-in.
- Garbage bags. Pack in what you pack out.
- Day pack, waterproof foldable backpack or dry bag. I love My Gecko waterproof backpack is lightweight and folds right up! It is probably my favorite travel item and comes in tons of colors. It is one of my favorite travel things. Great for when you are hiking down there to keep your phone, camera and food dry. Buy it here on Amazon
- Lighting. Really important as it is pitch black down there. I bring a headlamp and a bright lantern style light to put on a picnic table. This lantern is amazing as it folds up small and is lightweight!
- Camera of course.
- Waterproof phone case.
- Portable music player like the JBL Waterproof speaker. I have had it for 3 years and it’s small and perfect.

- Portable charger or power bank. There are no outlets for your phone to take pictures or camera down there.
- Matches or lighter.
- Rope. If Boondock Saints taught me anything it’s that you can always use rope. In this case it can tie your sleeping mat, tie up your empty water jug, string up your lanterns or wet clothes and more!
- Sunscreen and chapstick.
- Bug spray isn’t really necessary as never many bugs there most of the year.
- Floaties for the water are no longer allowed.
- Sunglasses and hats.
- Playing cards or lightweight games for the night time.
Havasupai Falls Tips, Tricks & Hacks
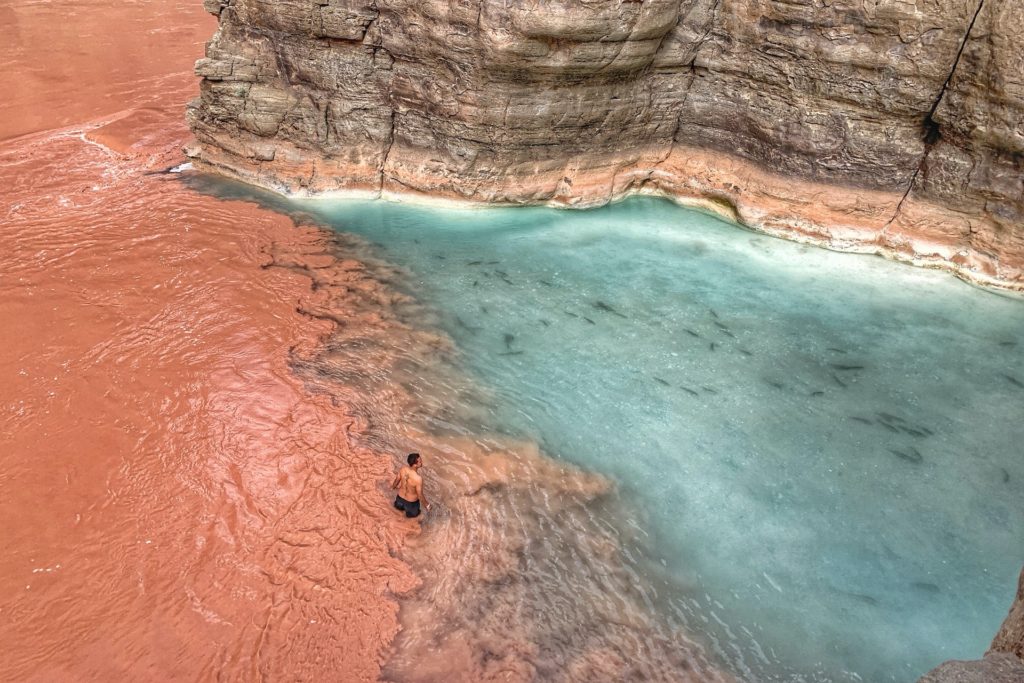
- No egos! This hike is tough, with a large backpack, so take your breaks and be happy. No need to be worried about asking for a break to make everyone feel better, just do it.
- Stay At Hualapai Lodge the night before you hike to get a nice rest vs. car sleeping or trying to tent near the hilltop.
- Don’t use brand new shoes. Make sure you are comfortable in and have walked a lot in the footwear you plan on bringing.
- It often gets dark in the canyon early so don’t arrive to Beaver Falls too late.
- Do not hurry back to your campsite each day. As mentioned it gets dark early and there really isn’t much to do at night since you can’t have a fire and packed pretty lightly.
- Creek fridge. I saw this idea on the survival show Alone and it is genius. Essentially you keep your things cool in the creek via building up a mini dam next to the shore to keep everything cooler than if it is out in the sun or in your tent.
- No alcohol or drugs. I have seen people get told to lose their alcohol or they must go home, in a very stern and scary way.
- With that said, I packed a separate cooler with beer and gatorade for when we returned from the hike! It actually kept coldish.
- I would take your pictures of the hike on the way down because the mood will probably be much less upbeat on the way back.
- Remember! You must pack out whatever you pack in!
- The water doesn’t deviate a ton from 70 degrees year-round, in fact I found it warmer in March vs. August due to it being colder out of the water in March.
- There is no phone service at the bottom
- Watchout for the mules on the hike. They’re like taxis in Elf, they don’t stop.
- There is often food for sale at the bottom but it can run out! I recommend still packing enough food to get by for all of your days just in case.
- Native American discounts are available at check-in with valid reservation and identification.
- Flash Flooding in monsoon season can happen in July & August so be sure to check as extremely poor weather will cancel your reservation.
- The summer months can have temperatures over 100 degrees so bring lots of water, electrolytes and food.
- Winter months are very cold so be sure to pack accordingly at night.
- Reselling of reservations is strictly prohibited and can void your reservation.
- December through February is probably the worst time to go due to pretty frigid temperatures especially if a cold front comes through.
- Try to avoid hiking in and out in the hottest parts of the day. With that said, don’t let it push you from spending more time down there enjoying your time.
- Remember to lock your food up somehow or put it in your tent when you leave or else squirrels will get it all!
Just a heads up, as an Amazon Associate I earn from qualifying purchases. However, I love every product I share with you and fully stand by it!
Amazing read! Being from Arizona I have always been interested in venturing on this trip. However I don’t think I’d be able to carry that load for that many miles. Props to you!! I bet it was an unreal experience.
Thanks! I bet you could make it work! Everyone has to try once, maybe get the helicopter out!